10 Tips to Improve the Sound of your Drum Kit in 2020.


The two most important things about recording drums are the drummer and the drum set.
As a music producer, there's not much I can do about the drummer, except help with drum parts and arrangement.
But the one thing that we can do is improve the sound of the drums.
The first thing to do is to change all the drumheads, definitely all the top heads and bottom heads, if possible.
The next thing is to tune the drums properly.
I'm surprised how many drummers can't tune their drums, but this is not a significant problem since I do know how to tune drums.
There are times when it is hopeless when nothing can salvage the sound quality of a mediocre drum kit.
At that point, I recommend renting my Gretsch Kit, which is a good option for a band that owns a low-end drum kit.
If you are looking to upgrade your personal drum kit, here is a list of my recommendations for good quality drumheads:
- Snare (top): Remo Ambassadors coated
- Toms (top): Evans G2 clear
- Toms (bottom): Evans G1 clear
- Kick (batter): Evans EQ4 or EMAD clear
- Kick (front): Evans EQ3
If you prefer to tune your own drum set, continue reading.
Drum Tuning
Many musicians tend to overlook drum tuning.
But they do need to be in tune if you want them to produce full, clear tones and to a certain extent, the level of the pitch does matter.
You want to follow the steps outlined below to produce the best possible drum sound.

First, you need to remember that while it is possible to tune a drum over a potentially wide range of pitches, the range of pitches that will generate a clear and resonant sound is more limited.
Loose fitting heads result in a dull sound, too tight and you get a tinny, choked drum sound.
So how do you determine the optimal pitch range for your drums?
There are a few factors, but the most important is the drum's diameter, the thickness of the heads, and the type of shell.
Wider diameters, thicker heads, and lighter shells generally produce lower pitch ranges than do smaller drums with thinner heads and heavier shells, which tend to have higher pitch ranges.
The best way to explore the range of a drum is to start with the lowest head tension and gradually increasing the tension, taking a listen at each spot.
We provide more detailed instructions below.
At Evermore Sound recording studio, we aim to help you create the best quality sound recording possible.
You get the advice and expertise of an experienced music producer.
Helping you learn how to tune your drum set will help with that mission.
With that in mind, we have compiled a list of the ten top tips for optimizing the sound quality of your drum kit, but first, a few basics.
To get a well-tuned drum kit, you need to keep several goals in mind. To begin with, each head must be in tune with itself.
Next, the top (a batter) and bottom (resonant) heads need to be in tune with each other.
Lastly, each drum must be in tune with the entire kit.
To check that a drum head is in tune with itself, you need to ensure that there is even tension across the area of the head and that the head is free of wrinkles.
To check this, simply strike the drum at the point of each tension rod.

If the pitch is the same at each point, your head is in tune.
If not, you will need to tune each head by following the steps outlined below.
According to a blog post by Jed Van Wyngaardt of Anderton's Music Company in the U.K., the resonant and batter heads will produce a different drum sound depending on the interval between them.
Selecting the best interval requires some experimentation.
And, he continues,
"When considering the kit as a whole, the pitches of each drum should complement one another.
You can even consider tuning the kit to a musical scale:
Our snare drum tuned to a C (dominant) could be accompanied by a kick tuned to an F (tonic) and toms tuned to other notes of the F major scale."
In general, when you are selecting a scale to tune, it is useful to consider the key of the song that you intend to play.
Of course, this works best when you are recording one song at a time in the recording studio.
When playing multiple songs, for example, at a live gig, this is less practical.
Now, to the mechanics of drum tuning to ensure the best possible drum sound.
Ten Tips to Improve the Sound of your Drum Kit
Some simple fixes that can improve the sound and performance of your drum kit. Some may require a qualified technician, but you should be able to handle most of them on your own.
Before you get started, you will need two essential tools: a drum key and drumsticks.
A drum key is a small tool that musicians and tuners use to adjust the tension rods that control the tone and pitch of your drums.
More tension results in a higher pitch, less tension lowers the pitch.
You will need the drumsticks to tap on your drumheads as you adjust their tone.
Now that you have the necessary tools, you have ten essential steps to take in order to ensure optimal drum sound. Ideally, you will do this before your session at the recording studio.
1. Decide whether or not you need to change the heads.

If you notice that the sound of your drums is changing and frequently in need of tuning, then you will likely need to replace them as older heads won't tune as well as new. The condition of the drum head is a crucial first step that will improve the overall sound and performance of your kit.
What types of heads work best?
There are several types of heads on the market, so here we will take a few words to review the pros and cons of each.
A 1-ply head is always used for bottom (resonant) heads, and occasionally, for some top (batter) heads, while a 2-ply head is an excellent choice for batter heads, but not the best choice for a resonant head.
A snare side is an extra-thin head that is designed for use on the bottom of a snare drum.
Another choice is between a coated or clear head.
A coated head is covered with a thin layer of plastic that controls overtones and adds warmth to the sound.
A clear head tends to have more sustain and produces overtones.
Pairing Heads (batter - resonant) are often used in combination on toms.
Basically, this combination is 2-ply coated and 1-ply clear.
The coated heads give the drummer more control. Another option is the reverse, meaning 2-ply clear - 1-ply clear.
This combination gives you a greater depth of tone and sustain.
Your snares will perform best with a 2-ply coated - snare side.
If you are playing jazz or a lighter style of music, you might want to opt for a 1-ply clear or coated and 1-ply clear.
As a music producer, I do not recommend this combination for rock or heavy metal as they will quickly wear out and need replacing.
2. Center your heads.
If you are using an old head, make sure it is correctly centered on the drum.
Same goes for positioning a new head.
Once the head is centered, place the hoop over the head.
Next, line it up with the lugs on the side of the shell.
Thread the tension rods and tighten using your drum key them until they are finger tight.
Be careful not to "choke" the tone of the drum by tuning it too tightly.
You want a clear, even sound.

3. Apply wax properly.
While it might be tempting to melt the wax and then apply it to the drum, this is not the way to go.
Instead, use a piece of wax and rub it gently over each bearing edge.
We recommend beeswax, but paraffin wax or a candle will also work.
Why apply wax?
The wax will act as a buffer and reduce the degree of friction between the head and the shell.
It will also improve the contact and head vibration, and thereby improve the sound quality.
4. Check bearing edges.
A variety of issues can interfere with the proper tuning of your drum.
One is the bearing edge.
Make sure that your bearing edge maintains a uniform shape around the entire drum.
Feel your way over the surface and note any dips or flat spots.
If you find any, you should take the drum to a qualified person and ask them to cut a new bearing edge for your drum.
5. Make sure that all of your drumheads fit properly.
Especially if you are using an older model drum, you may find that new heads do not fit correctly.
Older drums are often covered in plastic and thicker than more modern sets.
If that is the problem, gradually trim back the plastic until the head is able to vibrate.
Be careful not to damage the bearing edge in the process.
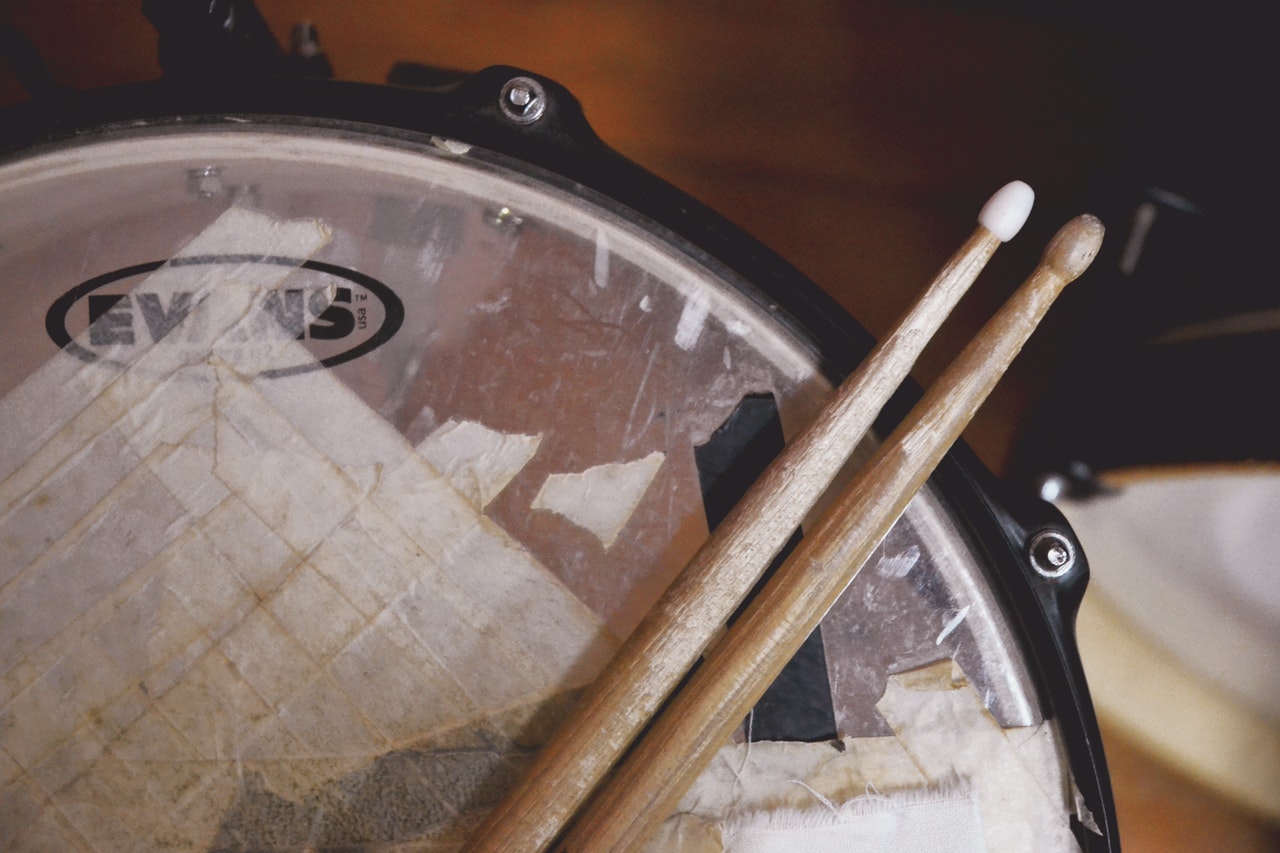
6. Experiment with different stick tips.
Different sticks generate different sounds.
You may want to take some time to play with different sticks, particularly for the cymbal.
7. Increase your floor tom sustain.
Drum sets have different designs.
Some have floor tom legs with a metal point foot others have a rubber foot.
Generally, floor toms sustain longer when the rubber foot contacts the floor.
Check the type of feet on your drums; if they are missing or made of plastic, you should consider replacing them with rubber feet.
8. Check the bass drum beater.
For maximum resonance and tone, the beater on your bass pedal should strike the head very close to the center.
Adjusting the beater to hit the center of the head is easiest on a 22" bass drum.
For larger or smaller base drums, you may need to adjust the height of the beater rod to get it to strike closer to center, but this may prove to be challenging.
Some companies offer cradles that raise the beater high enough to hit the center.
9. Align your snare wires
Make sure that the snare wire is attached so that it centers on the snare-side head.
If the wires are pulling toward one side or the other, they can choke the sound of the drum.
Misaligned snare wires can also minimize the activation of the snare wires, which means you are not able to get the best sound.

10. Cut Down Ride Cymbal Overtones
The most efficient way to do this is to place a ¾" wide piece of duct tape underneath the cymbal to dampen any overbearing cymbal wash.
Dampening will help to focus the cymbal's ping sound.
If you have followed all of the advice above, and are still not satisfied with the quality of your drum sound, continue reading.
When tuning does not work
As a music producer, I know that there are times when it is hopeless -- when nothing can salvage the sound quality of a mediocre drum kit.
At that point, I recommend renting my Gretsch Kit, which is a good option for a band that owns a low-end drum kit.
Rent my kit, and you avoid spending as long as 2 hours tuning your drums, only to discover that the problem is with the quality of the drum set.
If your drum kit is not up to par, this option will guarantee a high-quality sound and will save you money in the long run.
You want to make the most of your time at the recording studio.
For more information, or to book your drum kit rental, contact us.